Running the Application
Now that we have a base project, let's just make sure that runs properly. We will run our application in an Apache Tomcat runtime. As part of the SAPUI5 Development Toolkit Plugin that SAP provides, there are some Java Servlets that will prove useful to us when hooking up to our SAP NetWeaver Gateway service. This won't be too detrimental when connecting to an ASP.NET Web API service either, so both backends can follow along here.
Locate your Tomcat Binaries
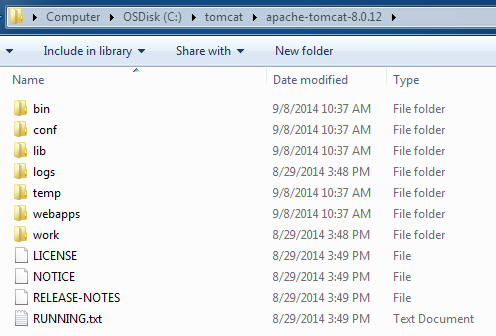
First thing we'll want to do is figure out where we have Tomcat extracted. For this lab, let's assume you have it downloaded at C:\tomcat\apache-tomcat-8.0.x\. My folder looks like this:
Adding a Server Runtime in Eclipse
- Click on Window > Show View … > Other …
- Type
serversinto the filter box. Double click on the Servers result. - In my Eclipse perspective, the Servers view defaults to the bottom of my workbench. Right click inside this view pane and choose New > Server.
- Expand the Apache folder and choose the Tomcat version which matches your downloaded version. I will choose
Tomcat v8.0 Server. - Leave hostname as
localhostand click Next. - Click Browse button and navigate to the root of your Tomcat directory. For example, I will navigate to
C:\tomcat\apache-tomcat-8.0.12\since that is the location of my extracted files. - Click Next.
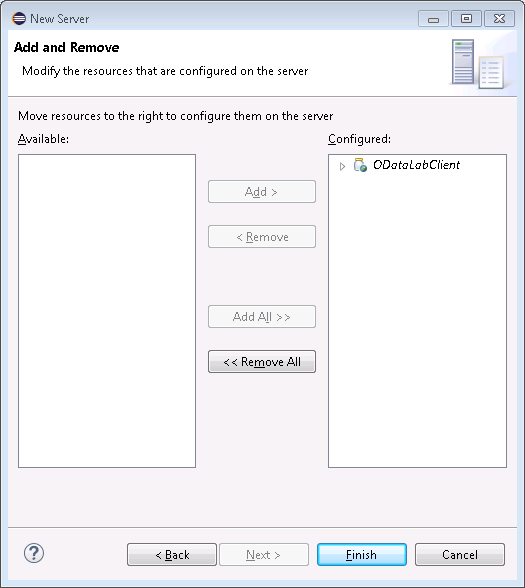
- Click the 'Add All' button. You should see your Eclipse project in the list on the left move over to the right indicating the Tomcat server will host the application files.
- Click Finish.
Now that the server is configured, let's try running it.
Starting and Stopping Tomcat from Eclipse
You will control starting/stopping straight from the Servers view in Eclipse. By right clicking on the server, you can control it's state.
- Right click our new
Tomcat v8.0 Server at localhostand choose Start.
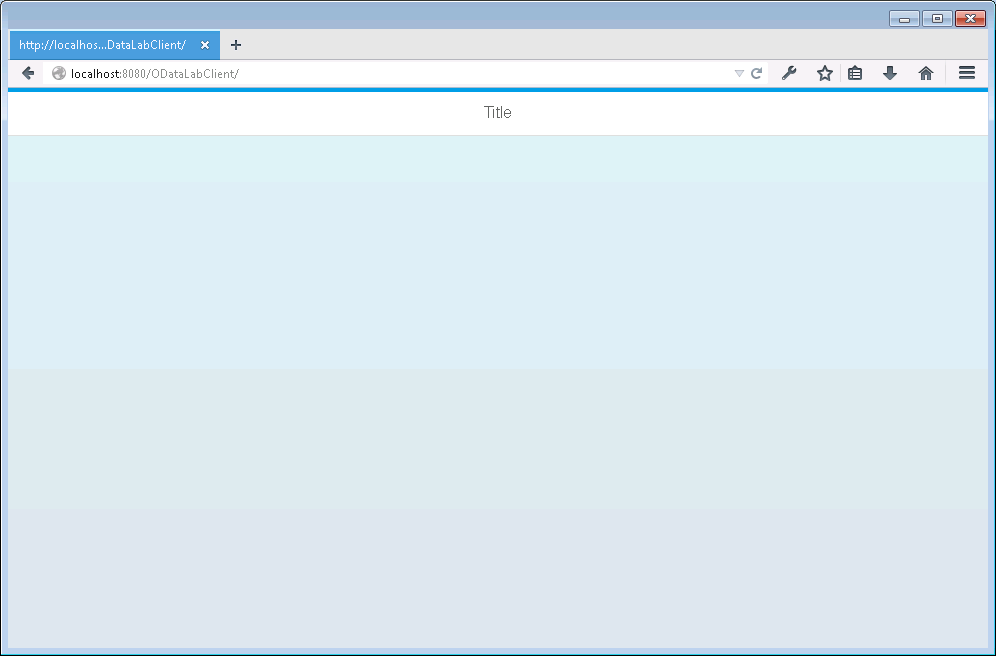
The server will initialize, and when your console window stops updating, you can launch your favorite browser to http://localhost:8080/ODataLabClient.
By default, adding a Tomcat server will try and bind to port 8080. If this is not available, you can choose another port by double clicking on the server in the Servers view itself, and changing the values in the settings.
Yep. A nearly blank screen. But this is exactly what we have in our code base, so let's build from here. Next we will look at setting up some UI5 internals.


