Setting up the Master View
We now need to build a list view to populate a Master list of sales orders from our service.
Create a new View
- Right click on the
viewfolder - Choose New > Other …
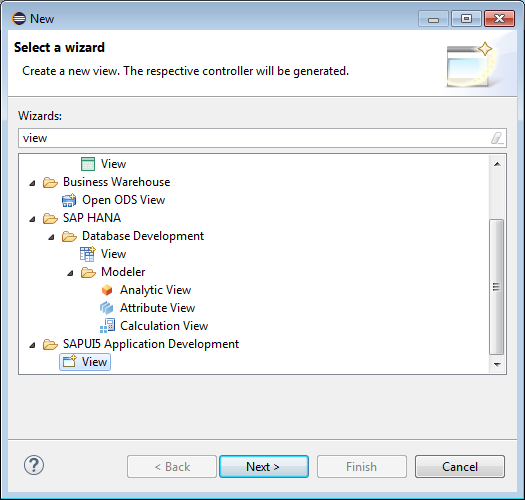
Type view in the filter box. Choose view under SAPUI5 Application Development folder.
Enter
Masteras the view name and choose XML development paradigm.
Create a Sales Order List
Open
Master.view.xmlReplace file contents with this snippet:
<mvc:View
    controllerName="odatalabclient.view.Master"
    displayBlock="true"
    xmlns:mvc="sap.ui.core.mvc"
    xmlns="sap.m">
    <Page
        id="page"
        title="Sales Orders">
    </Page>
</mvc:View>
Now we have our base
sap.m.Pageto add our content. You'll notice the controller name changes a bit to keep with our standard. I noticed that the 'New View' wizard does not retain a full namespace. This is something to be aware of.In the same file, add a
sap.m.Listto the content of our Page. Replace the Page object with the following:<Page id="page" title="Sales Orders"> <content> <List id="list" mode="{device>/listMode}" items="{/SalesOrders}" growing="true" growingScrollToLoad="true"> <items> <ObjectListItem type="{device>/listItemType}" title="{SoId}"> </ObjectListItem> </items> </List> </content> </Page>You'll notice a couple things here.
- We are using our
{device}model that we set inComponent.js. See how we are accessing those helper attributes we created? - We have a
sap.m.Listwithsap.m.ObjectListItemitems - The items are populated from our model
{/SalesOrderHeaderCollection}. We have not yet configured this piece.
- We are using our
Change the name of our Master controller in
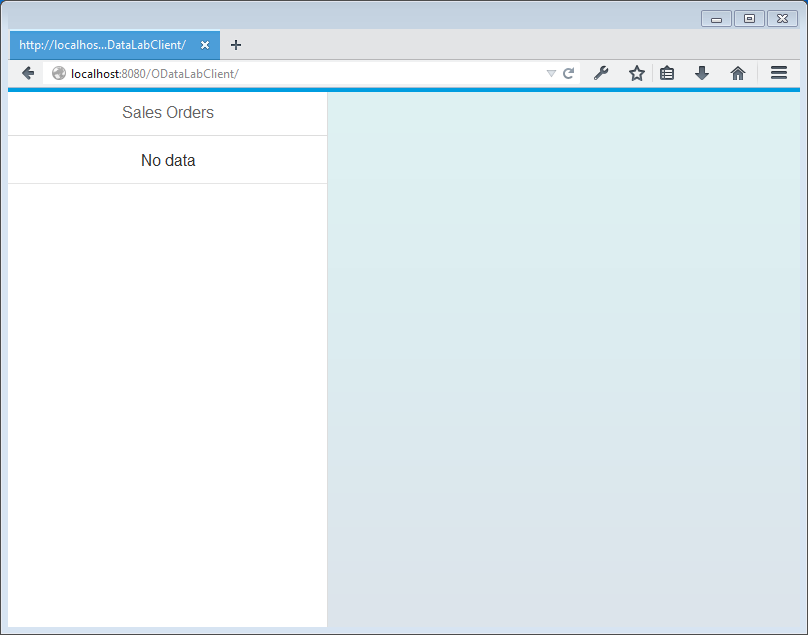
Master.controller.jssap.ui.controller("odatalabclient.view.Master", { // ...Let's run our application now and see some of this in effect.
Refresh your browser window to see our changes.
Master Controller
Now that our view is up to speed, let's finally hook up to our OData service! In the UIComponent initialization, let's add our NetWeaver Gateway service. We are adding it here, because we are only using one domain model for this demo. All of our screens will use this model.
To do that, let's add some config in our Component.js.
- Open
Component.js, identify the config section under metadata. Add our Sales Order service:
rootView: "odatalabclient.view.App", config: { salesOrderService: { url: "/ODataLabClient/proxy/http/server.com:1234/sap/opu/odata/sap/service", user: "TEST1", password: "TestUserPassword" } },- Change
server.com:1234above to the hostname of the service you created in a previous module, or use an existing public OData source that you can find. - We are using an initial path of
/ODataLabClient/proxy/http/because, inside of Eclipse's SAPUI5 Core Runtime libraries, we are provided acom.sap.ui5.proxy.SimpleProxyServletclass which will handle requesting resources that violate the Same-origin policy. Instead of worrying about CORS issues in our demo, let's just use this proxy servlet instead. SAP advises to not use this proxy class in production.
- Change
Change the contents of
initfunction ofComponent.js:init: function() { sap.ui.core.UIComponent.prototype.init.apply(this, arguments); var mConfig = this.getMetadata().getConfig(); var oModel = new sap.ui.model.odata.ODataModel( mConfig.salesOrderService.url, true, mConfig.salesOrderService.user, mConfig.salesOrderService.password ); this.setModel(oModel); // set device model (phone/desktop support) var deviceModel = new sap.ui.model.json.JSONModel({ // ...The first line brings in our UIComponent shell so that we can access the config we added. Inside the
onInitfunction, we bring the url into a variable and assign it into a new instance of ansap.ui.model.odata.ODataModelobject. By getting the view object from our controller, we can inject our model. If your service endpoint does not require a username and password (or if you want to prompt the user for their credentials instead of an application ID), you can leave out specifying a user and password in the newODataModel.If you are going to pass credentials like this, use HTTPS only! In HTTP, requests are sent over the wire like:
http://user:password@server.com:1234/service
So, use HTTPS!
As a side note, you can access the UIComponent's metadata from any controller as well. Simply require the namespace and class name.
// include this at the top of your controller
jQuery.sap.require("odatalabclient.Component");

// then, inside any function for example:
var config = odatalabclient.Component.getMetadata().getConfig();
var url = config.salesOrderService.url;
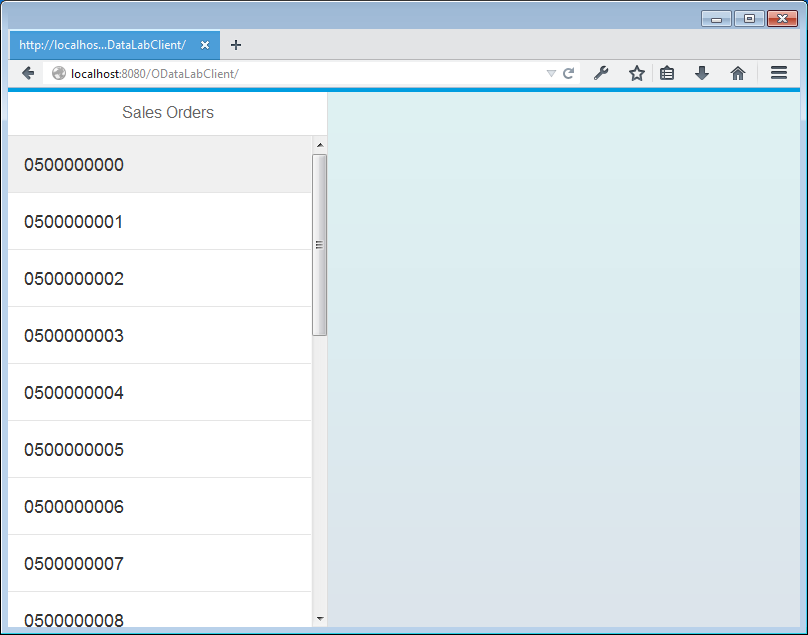
Refresh your browser window to see our changes.
We are seeing our sales orders! This is great.
- A request is sent to our router (which we initialized in our UIComponent)
- The request is loaded as a masterPages aggregation of our main view (App.view.xml)
- The view (Master.view.xml) is loaded in.
- The list in our view is bound to
{/SalesOrders}model property. - SAPUI5 Core will make a request from our ODataModel to the service at resource
/SalesOrders- A call is made to the
$metadataendpoint to get information about the service. - We attempt to read a
$countof all resources - We read in some
/SalesOrdersrecords from the OData endpoint and display in our List
- A call is made to the
All of this we have configured so far. Before we can show too much detail about these items, we need a way to pass the information from this master list, through our Router, and into a separate Detail view. To do this, we need to look at assigning click events to our Master view and using our custom router.


